Dead Wood Removal: A Step-by-Step Guide for Homeowners
Introduction: Every homeowner should consider dead wood removal as a crucial aspect of tree maintenance. It not only enhances your landscape’s aesthetics but also ensures your trees’ safety and health. This step-by-step guide will walk you through dead wood removal, empowering you to tackle this essential task confidently.
Step 1: Safety First
Before you begin, prioritise safety. Gather the necessary personal protective equipment (PPE), including gloves, safety glasses, and a hard hat. If you plan to use power tools like a chainsaw, ensure you are well-versed in their safe operation or consider hiring a professional tree surgeon.
Step 2: Assess the Tree
Start by closely examining the tree you wish to work on. Look for dead branches or limbs. Signs of dead wood include lack of leaves, brittle or loose bark, and absence of healthy buds. Dead wood often contrasts colour with the live branches, appearing grey or brown.
Step 3: Gather Tools and Equipment
Depending on the size of the dead wood, you will need a selection of tools. Common tools for dead wood removal include:
- Pruning shears or loppers for small branches and twigs.
- Hand saws for medium-sized branches.
- Chainsaw for larger branches or dead trees.
- Pole pruner or pole saw for hard-to-reach branches.
- Rope if you need to secure branches while cutting them.
Step 4: Make the Cut
- Once you’ve identified the dead wood, make your cuts. Follow these guidelines:
- For small branches, use pruning shears or loppers to make clean cuts just outside the branch collar (the swollen area where the branch meets the trunk).
- For larger branches, use a saw. Start with an undercut about 1/3 of the way through the branch from the bottom, then make a top cut slightly ahead of the undercut. This prevents the branch from tearing the bark as it falls.
- If you have the skill and equipment, consider making a controlled felling cut for dead trees. If not, consult a professional tree surgeon.
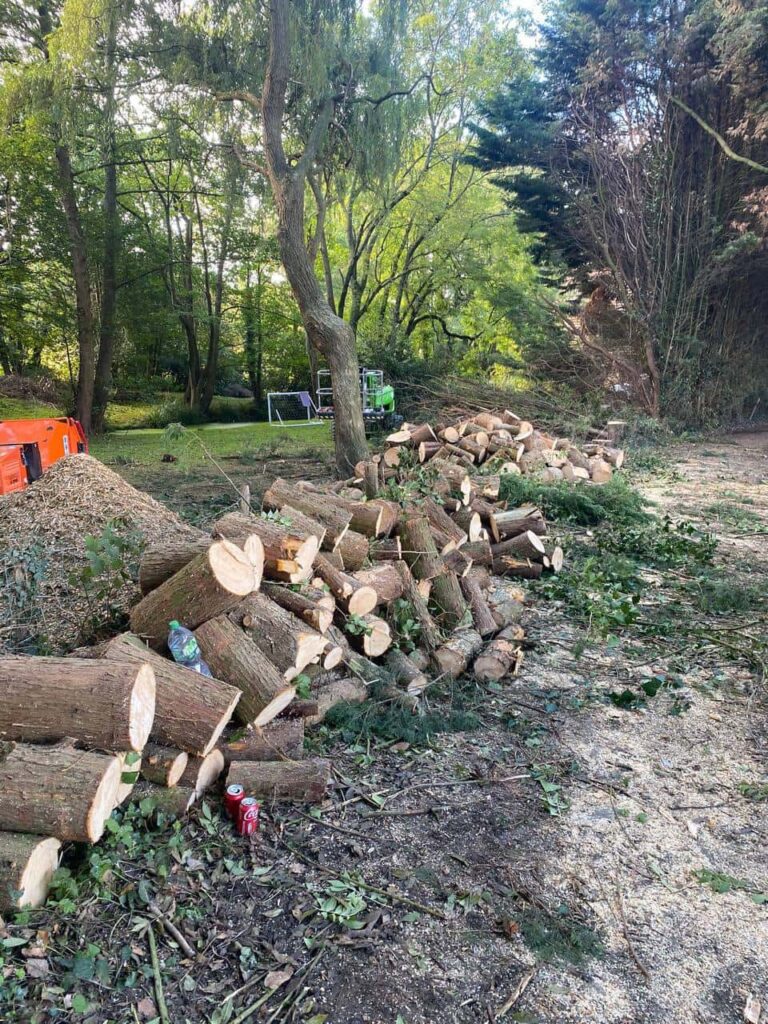
Step 5: Dispose of Dead Wood
Properly dispose of the removed dead wood. You can:
Use it for firewood if it’s not too decayed.
Create a brush pile or habitat stack for wildlife.
Chip it to make mulch for your garden.
Step 6: Clean Up
After completing the removal, clean up any debris and fallen branches. Ensure the area around the tree is safe and clear.
Step 7: Maintenance
Dead wood removal is an ongoing process. Regularly inspect your trees for new dead wood and address it promptly to prevent safety hazards and maintain tree health.
Conclusion: Dead wood removal is a manageable task for homeowners when approached with the right tools and knowledge. However, if you are uncertain about your abilities or encounter challenging situations, don’t hesitate to seek the assistance of St Neots Tree Surgeons. They have the expertise to handle dead wood removal safely and efficiently, ensuring your trees remain healthy and your property remains safe and beautiful. By taking these steps, you can contribute to the longevity and beauty of your landscape while safeguarding your trees and loved ones.
Call us on: 01480 776 299
Click here to find out more about St Neots Tree Surgeons
Click here to complete our contact form and see how we can help with your tree’s needs.